Why is Non-Destructive Testing important?
It provides a non-invasive way of testing the quality of a component, without compromising the components function.
It saves our clients time and money, by providing accurate and comprehensive data which allow our valued clients to make an informed decision on the plant or equipment management.
It ensures that equipment is safe to go into service.
Conventional Non-Destructive Testing Services
Magnetic Particle Inspection
The method can detect surface or near-surface flaws such as cracks, laps, seams and inclusions in ferromagnetic materials such as iron and steel. One of the main advantages of magnetic particle inspection is that it can give an immediate indication of defects and discontinuities.
Dye Penetrant Inspection
Dye Penetrant Testing used to locate surface breaking flaws such as cracks, porosity, laps, seams and other surface discontinuities. Dye Penetrant Inspection can be applied to both ferrous and non-ferrous materials and all non-porous materials (metals, plastics or ceramics).
Ultrasonic Inspection
Utilizing the techniques of conventional Ultrasonics Inspection services using high frequency sound waves to detect imperfections or changes in properties within materials, we can provide clear, defined and instant results on a wide range of components.
Radiographic Testing
With unique mobile processing capabilities, on request, we can provide onsite testing and results to clients for a more efficient and streamlined service. Removing the delay of results between customer and client to help speed up the process significantly and in turn saving our clients on unnecessary overheads.
Eddy Current Testing
Forming the basis of in-service inspections painted ferrous and non-ferrous components, Eddy Current provides a reliable and mobile means of inspection which can detect very small indications. Eddy Current testing is ideal for various on-site and plant inspections. Flaws can be reported immediately allowing for a more streamlined service between customer and client.
Specialized Non-Destructive Testing Methods
Phased Array Inspection
Combining the experience of basic Ultrasonic testing techniques with advanced equipment and training we can provide Phased Array services to examine various manufactured materials and components from weld testing and corrosion mapping.
TOFD Inspection
Along with phased array we are able to provide Time of Flight Diffraction which is commonly used to inspect pipeline welds.
Close Proximity Radiography
SCAR, or Small Controlled Area Radiography, uses closes proximity radiation to minimize exposure and drastically reduce the inspection area required when using more traditional methods. A smaller inspection area means improved safety for workers and members of the public, and fewer disruptions to operations.
Magnetic Flux Leakage
Magnetic flux leakage is a magnetic method of nondestructive testing that is used to detect corrosion and pitting in various steel structures, some applications include storage tanks and pipelines.
Automated Phased Array
Utilizing the advanced application of PAUT welds and or hard the reach areas can be made accessible with Automated PAUT. Larger than average areas can also be scanned in a much shorter time frame.
Destructive Testing Services
Macro Examination
Bend Test Examination
Fillet Break Examination
Other Services
Level 3 Consulting
Our level III consultant will be able to assist your company review and validate NDT instructions and procedures. We also assist in interpreting standards, codes and procedures.
Mobile Darkroom Services
With our onsite processing capabilities we can provide verbal results to clients before leaving site.
Professional Witnessing
Preasure witnessing services on tanks, vessels and spools.
Vessel Inspection
AICIP is an inspection service provided to certify vessels under the National Law, and as to whether the vessel appears to ensure safety of persons and the environment.
Ferrite Testing
Ferrite testing is a technique used to measure the delta ferrite content in austenitic stainless steel and duplex stainless steel. The delta ferrite content is measured to better understand an austenitic or duplex stainless steel's susceptibility to corrosion, susceptibility to solidification cracking and other types of material failure.
Hardness Testing
Testing is widely employed for process control and inspection, and the outcome is used in estimating mechanical properties like tensile strength. It is usually done using testing machines fitted with an indenter that is forced into test matter over a period of time.
Vacuum Box Testing
The objective of the vacuum box technique or bubble leak test is to locate leaks in a pressure boundary that cannot be directly pressurized. This testing helps companies save costs associated with lost time and production incurred from repairing leaks after start-up.
PMI Testing
Positive Material Identification testing analyses materials to look at the chemical composition of metals and alloys at different stages of the alloy manufacturing process.
Weld Inspection Services
With qualified and certified welding inspectors we can develop and or review WPS and WPQR documentations as well as review/inspect welder proficiency.
Borescope Inspections
Borescopic inspection is a visual inspection which can aid in detected internal corrosion and pitting in hard to reach areas within pipelines.
Radiography Equipment
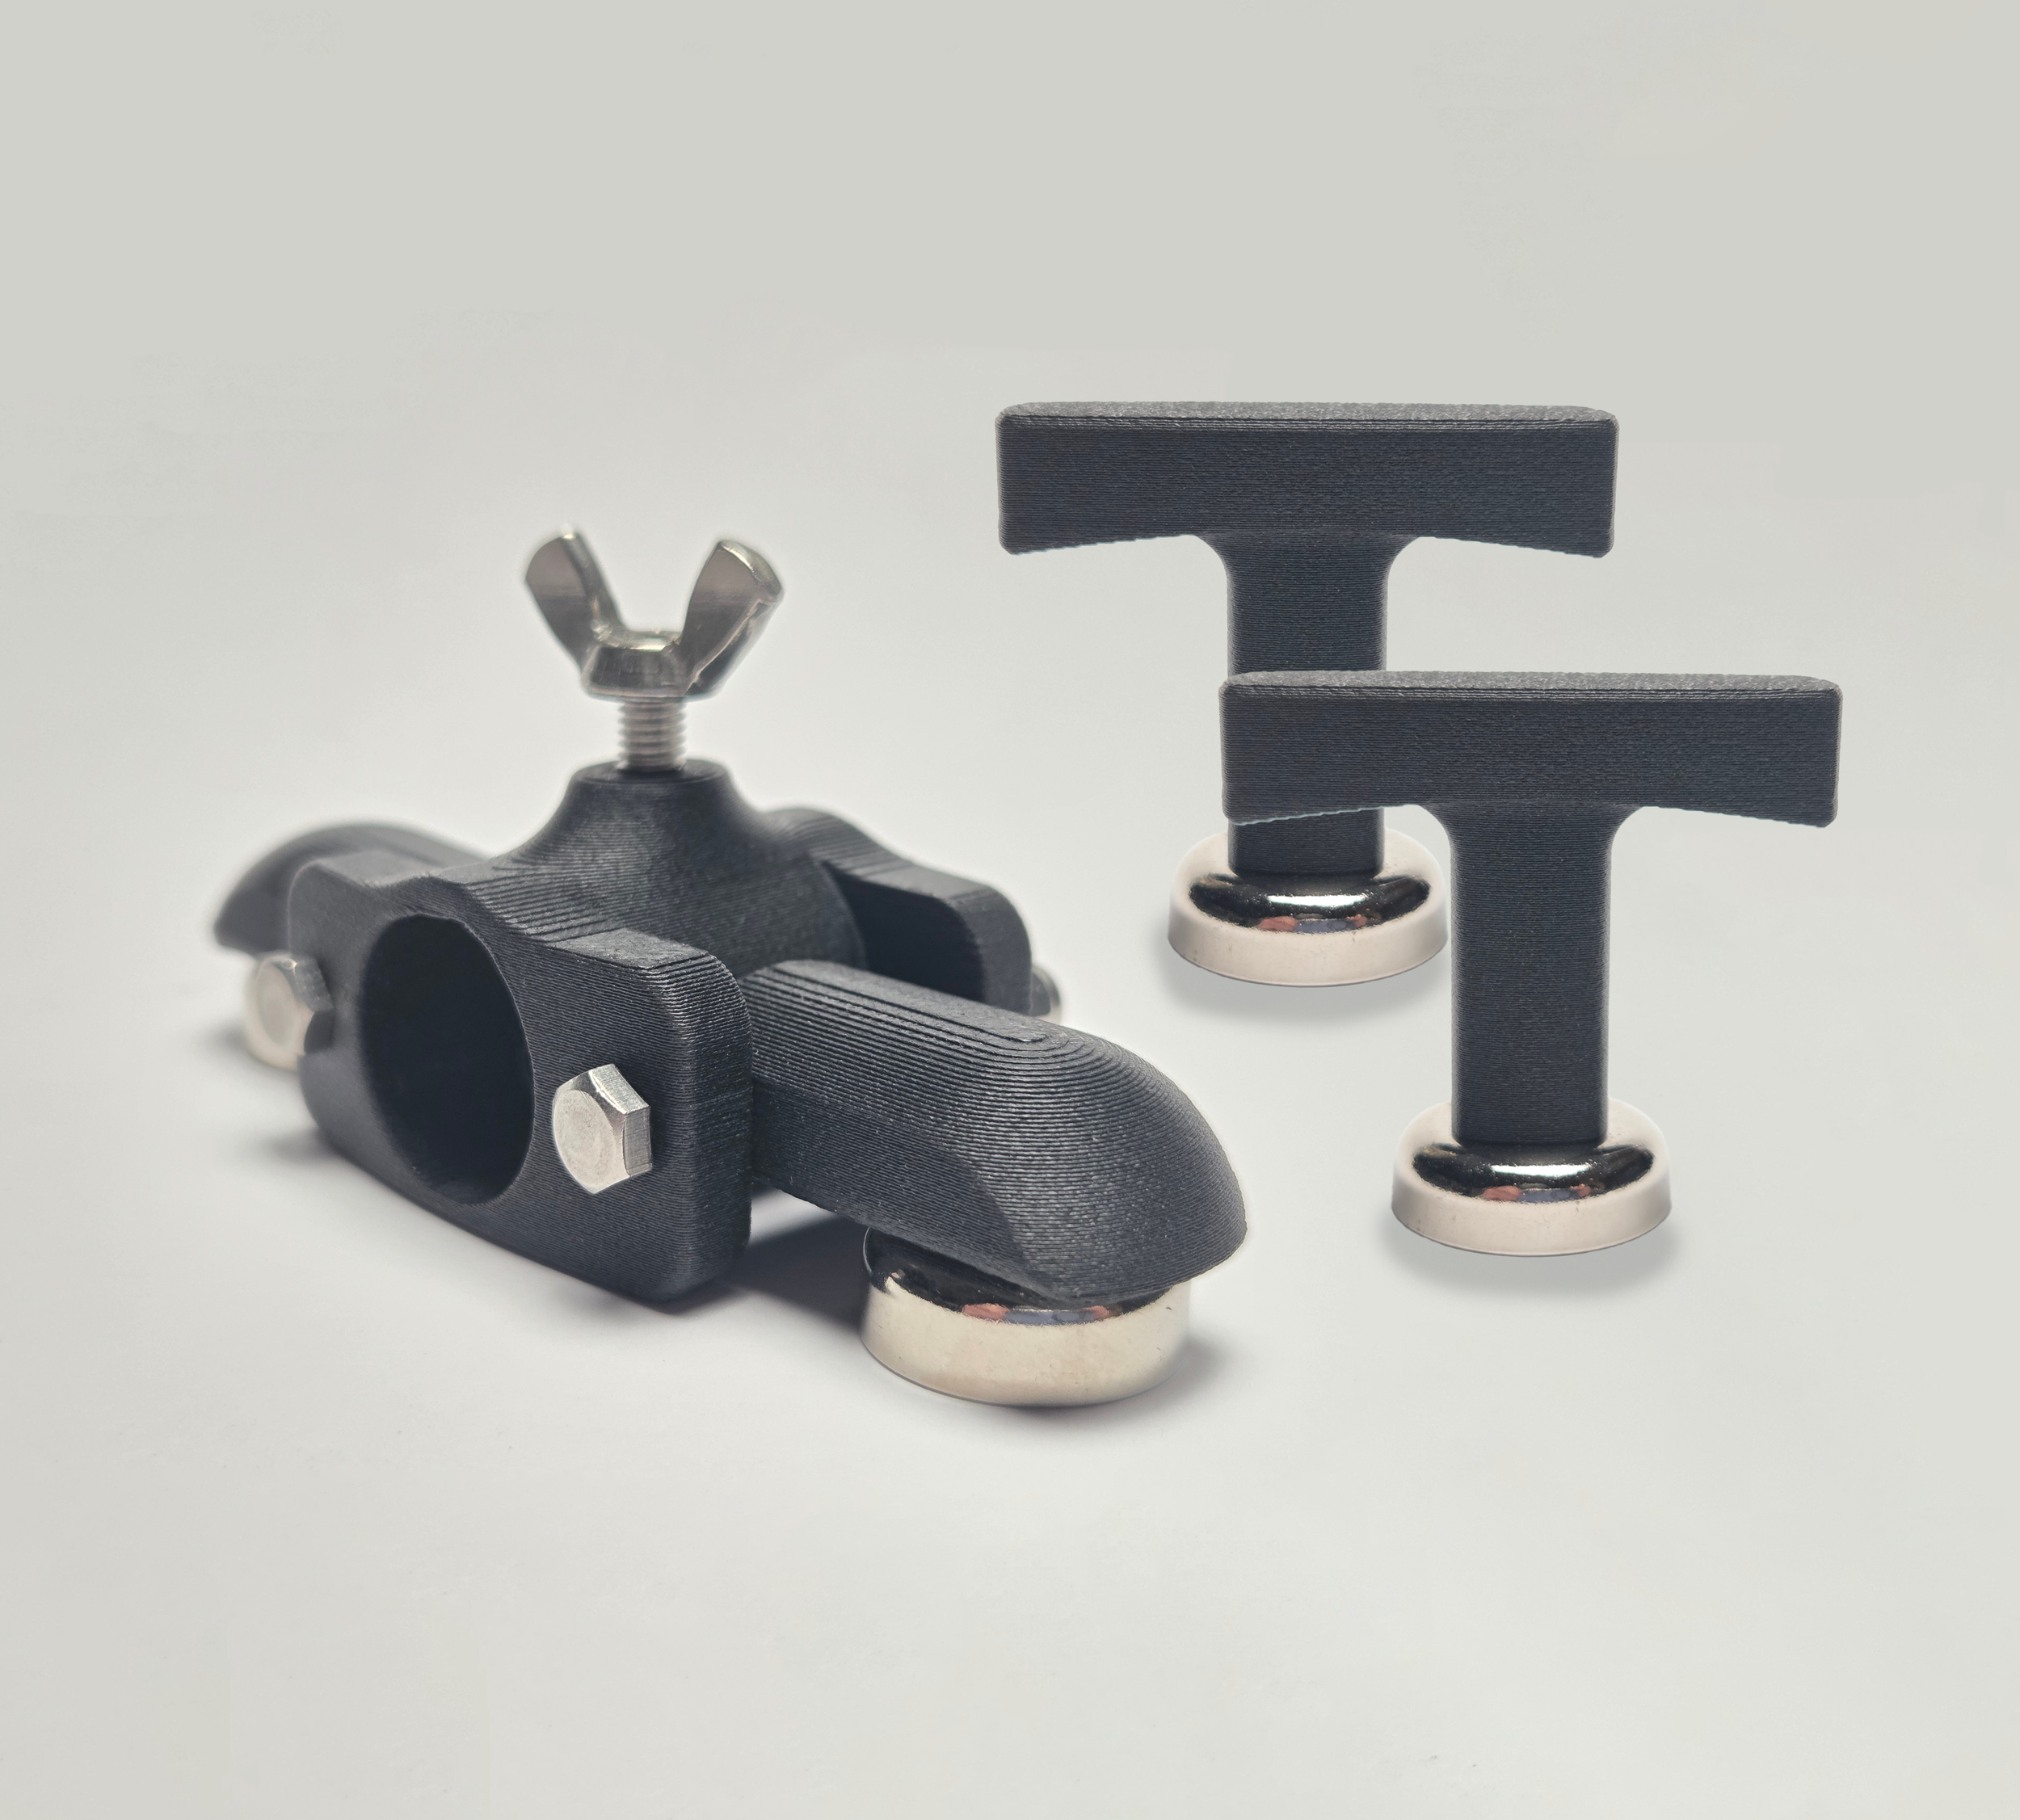
ProRad designs and manufactures specialized tools for industrial radiographers. Our mission is to create practical, durable equipment that simplifies radiographic testing, minimizes waste, and saves time—all while remaining affordable and built to last. Shop now at www.proradndt.com


